PMc Software |
|
|
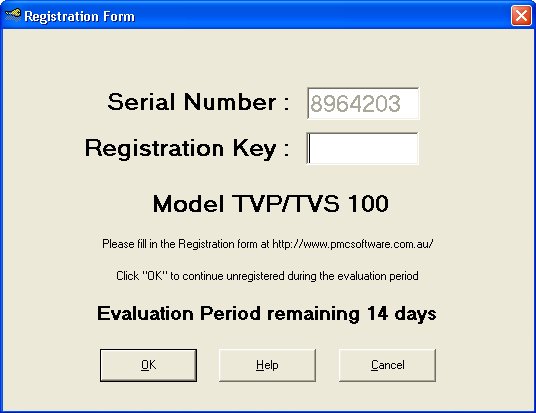
The BasicsStarting VoiceMail MasterTo start VoiceMail Master click on the Start Button in Windows and go to Programs. The VoiceMail Master Icon should now be displayed in the popup menu. Click on it to start VoiceMail Master. Ensure that the VoiceMail Master serial cable is connected before you start VoiceMail Master as the software will search your system for a connection.Registering VoiceMail MasterIf your copy has not yet been registered you will first be presented with the registration screen (your serial number will be different to this one).Picture 3 : Registration Screen
When the evaluation period has expired you will not be allowed to continue unless you have a valid Registration Key. To register simply fill out the registration form located here. Your Registration Key will be sent shortly. It will enable you to unlock your VoiceMail Master software. Once registered, VoiceMail Master will not present the registration screen again. Setting up VoiceMail MasterVoiceMail Master will now attempt to login to your Panasonic Voice Mail system. The default is to try Communications Port 1 on your PC. If this is not correct hit the Cancel button when the Initialisation screen comes up. VoiceMail Master will ask if you wish to try another port. Click Yes and the Setup Screen will be displayed. Picture 4: Login to the Panasonic Voice Mail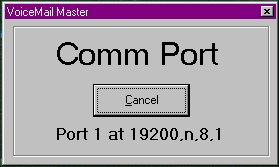 If the Port is already in
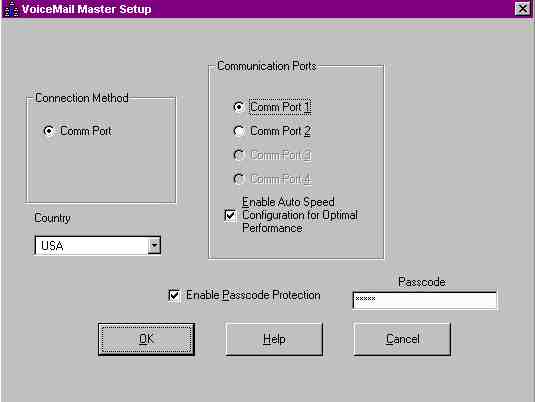
use the Setup Screen will come up automatically.
Picture
5: VoiceMail Master Setup
If the Port is already in
use the Setup Screen will come up automatically.
Picture
5: VoiceMail Master Setup
The "Country" selection is used to specify which country the Panasonic VoiceMail is designed to be used. The default is USA for the TVS75, TVS100 or TVS 200. From the list of available Comm Ports select the port to which your VoiceMail Master cable is attached.
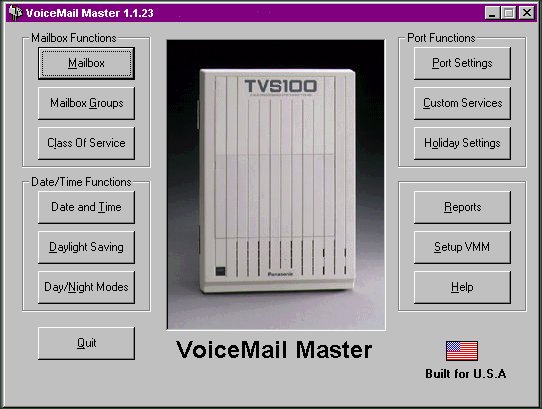
When you are satisfied with your setup Click OK. VoiceMail Master will now save your settings and locate your Panasonic Voice Mail system. Quitting VoiceMail MasterIf VoiceMail Master has successfully started you will see the following main screen. Picture 6: VoiceMail Master Main Screen
To quit VoiceMail Master click the Quit button. VoiceMail Master will now exit. Getting HelpAll screens in VoiceMail Master have an on-line Help button. Click this button (or press F1) when you need assistance with the screen you are currently working in. The on-help provides definitions and useful information about the options presented to you by VoiceMail Master.The VoiceMail Master CableIf your dealer did not provide you with a cable for VoiceMail Master you can either purchase a null modem cable from your local computer store, or even make your own.The pin outs are shown in Diagram 1. Note : The specification for maximum length of a shielded cable is 15 metres. Cables can be run in excess of this length but cannot be guaranteed to work. However as a tip the slower speed you run your comm port the more length you can get out of your cable. There are two common types of PC communication port connectors 9 and 25 pins. Use the connector that matches your computer. Diagram 1: Pin Outs, VoiceMail Master cable
|
|
|